On seeing past the end of my dinner fork

Oh, friends. Can I tell you about this evening? Can I tell you about the amazing meal my husband made with a certain two-year old and his end-of-the-day sillies while I was getting some work done in a local cafe? Can I tell you about the killer Caesar salad with homemade dressing and croutons he made from a local baker’s bread and our own lettuce and cherry tomatoes and eggs and garlic and chicken? Can I tell you about the cheesy grits full of delicious butter and cheese? Can I tell you about the two-year old who screamed, “I don’t like grits I DON’T LIKE GRITS IDON’TLIKEGRITSICAN’TEATTHEM!!!!!” for a very long time and then proceeded to eat a giant plate full of Caesar salad covered in garlicky anchovy dressing?

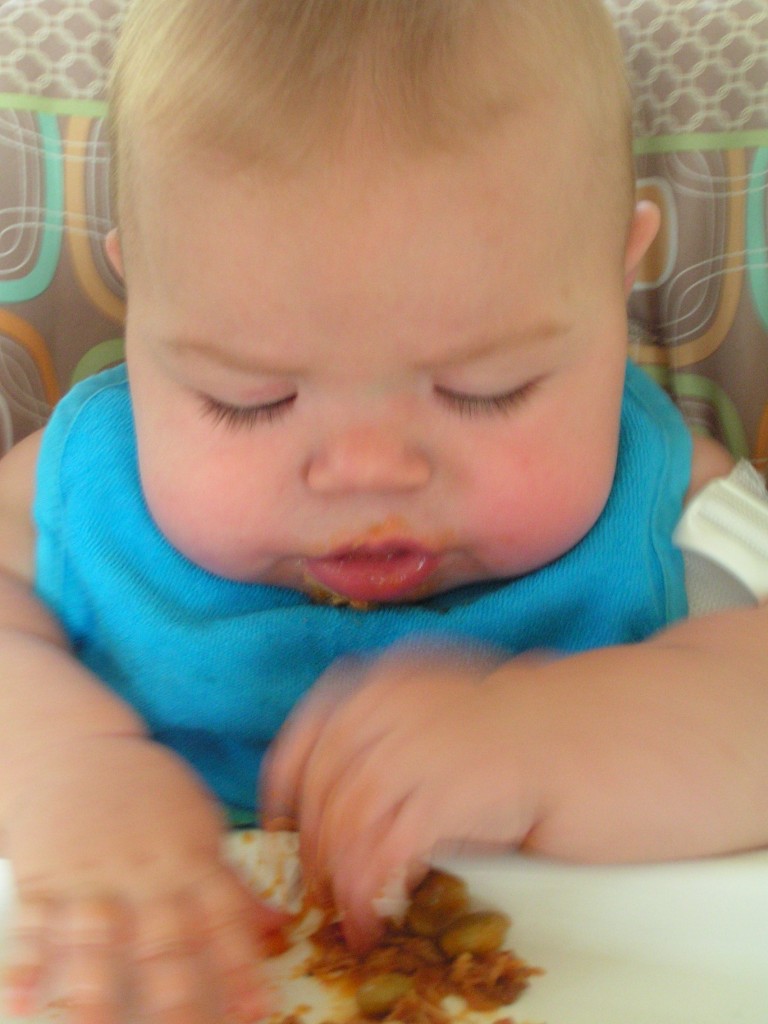
This business of toddlers and food is a tricky one. Sometimes I want to pull my hair out. Sometimes it is so stressful I completely lose sight of the Big Picture, the one where this too shall pass, the one where I remember how important these power struggles are as our little people become bigger people, the one where I know he and we will survive his toddlerhood just fine.

I think that in those times where I can barely see past the end of my dinner fork, it is important to remember it’s not always like this. In that spirit I am reposting something I wrote a couple weeks ago over at our farm blog. I think it fits perfectly here.

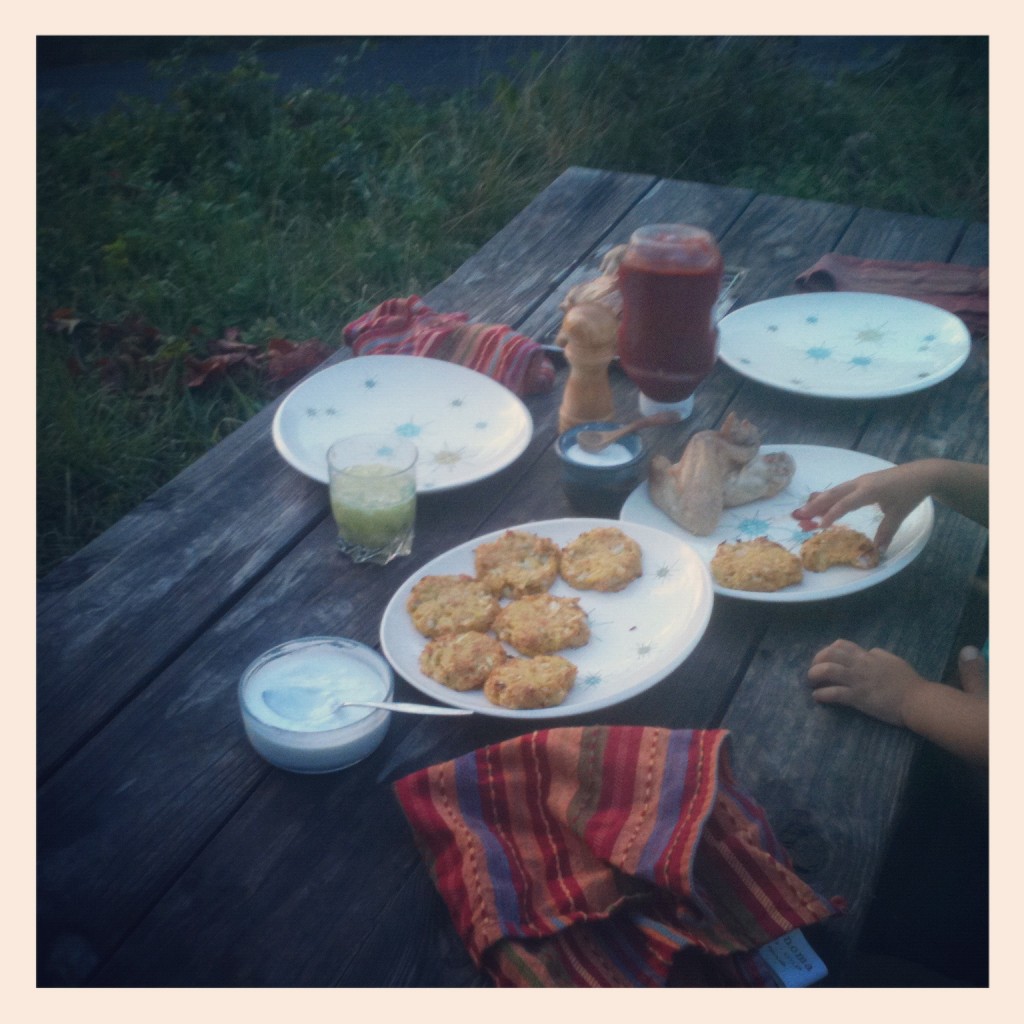
As we ate these outside at the picnic table last night, in a spell of blessed cool after a quick little thunderstorm, I realized it was the fifth time we’d eaten them in under two weeks. I think that means they’re a winner. I think that means y’all need the recipe.

There’s a very small amount of grating and chopping involved, but really these fritters could not be easier. You grate a summer squash or two – I’ve learned that yellow squash, zephyr, and pattypan work best for our family and for a certain particular two-year old right now, but zucchini fritters are particularly pretty. You squeeze the excess water out of the squash with a dishtowel or paper towels – this is the one picky step, but it only takes a minute, and having tried skipping this step, I think it’s worth doing. You chop an onion – mince it, if you’re living with the same two-year old. Then you mix it all up with some flour, some cornmeal, an egg, some cheese, some salt and pepper, and you shape them into patties, and then you pop them in the oven while you set the table.  Easy peasy!

A word on picky eaters: we have one. It’s been humbling. I thought because we have fields and countertops and a fridge and two freezers all full of delicious vegetables, that he’d take to them right away. And in his first six months of exploring solid foods, he did. But then he started having strong opinions, opinions like: white and brown foods like milk, yogurt, butter, bread, cheese, crackers, pasta, oatmeal, and eggs are really quite sufficient when it comes to one’s diet. And you know what? I want him to have opinions. I want him to be able to disagree with me. I want him to figure out what he loves and what he doesn’t love. I think he needs my guidance, but I also think he needs my patience and my trust … trust that he’ll survive toddlerhood just fine, trust that he is doing what most two-year olds since the dawn of two-year olds have done, trust that he is developing just as he should.

When I was pregnant I proclaimed I’d never “hide” vegetables in food, but I’m coming to realize it’s more complicated than that. In addition to all the independent toddler stuff going on, I think little people have a very acute sense of taste and texture. I think maybe we need to take it easy on them sometimes. And if that means choosing yellow squash over zucchini sometimes, or mincing the onions instead of chopping them – well, I can do that.

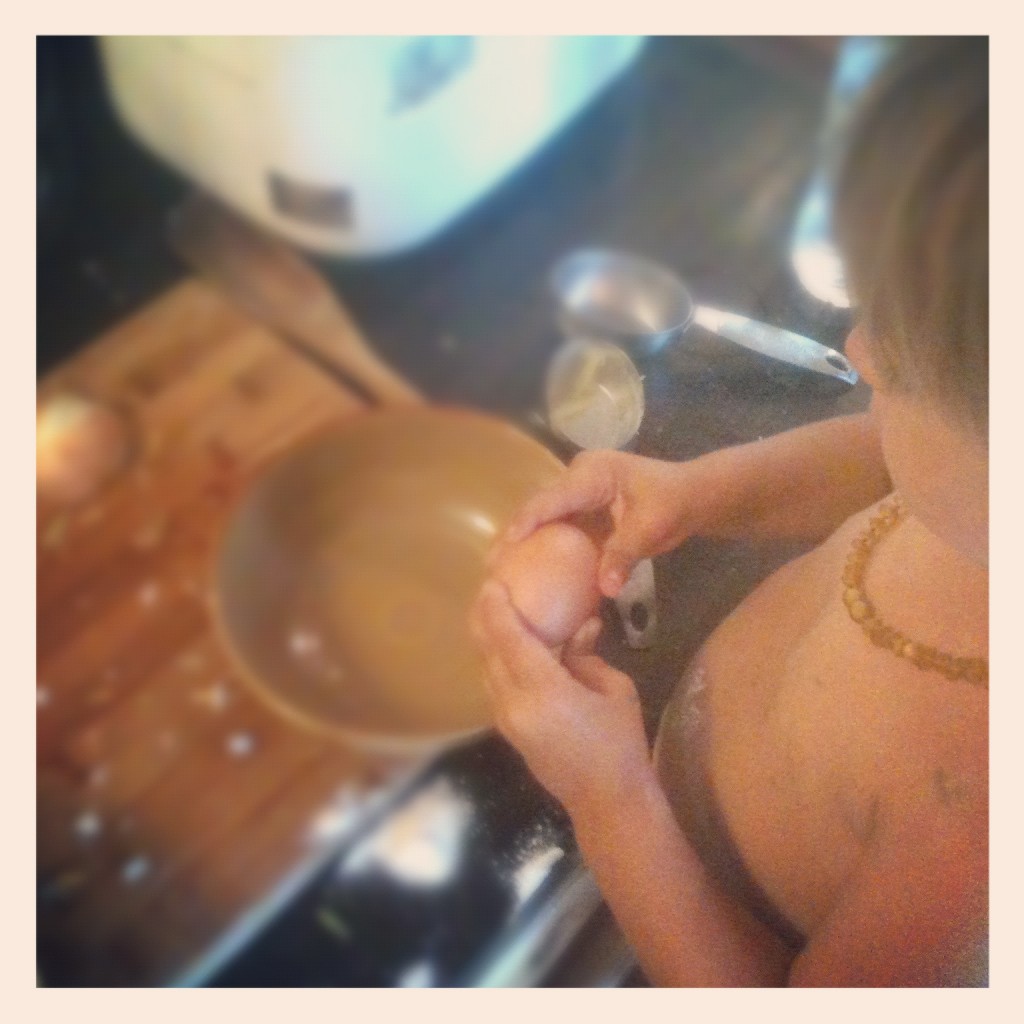
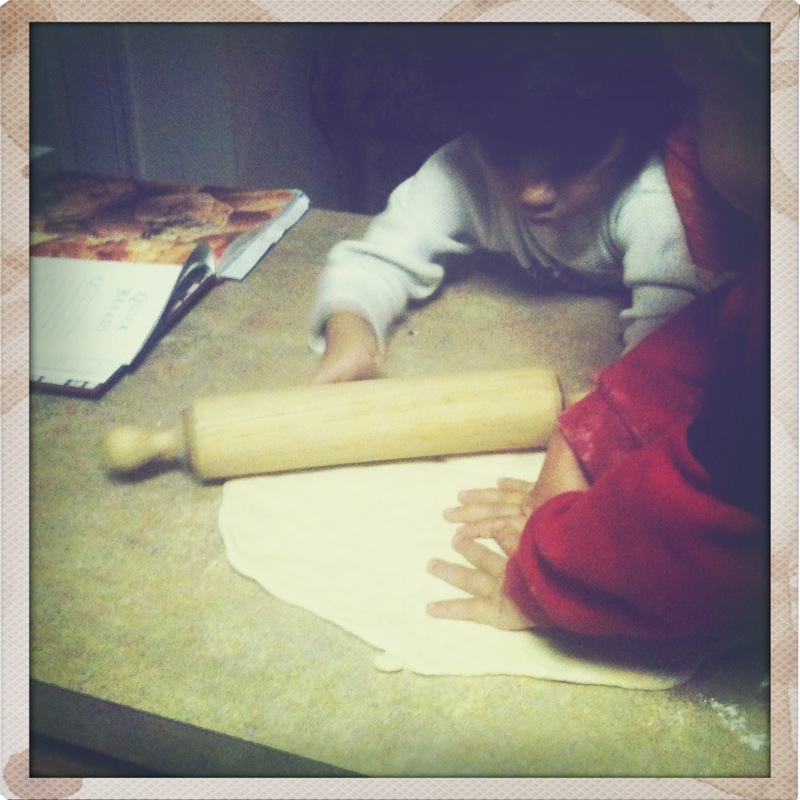
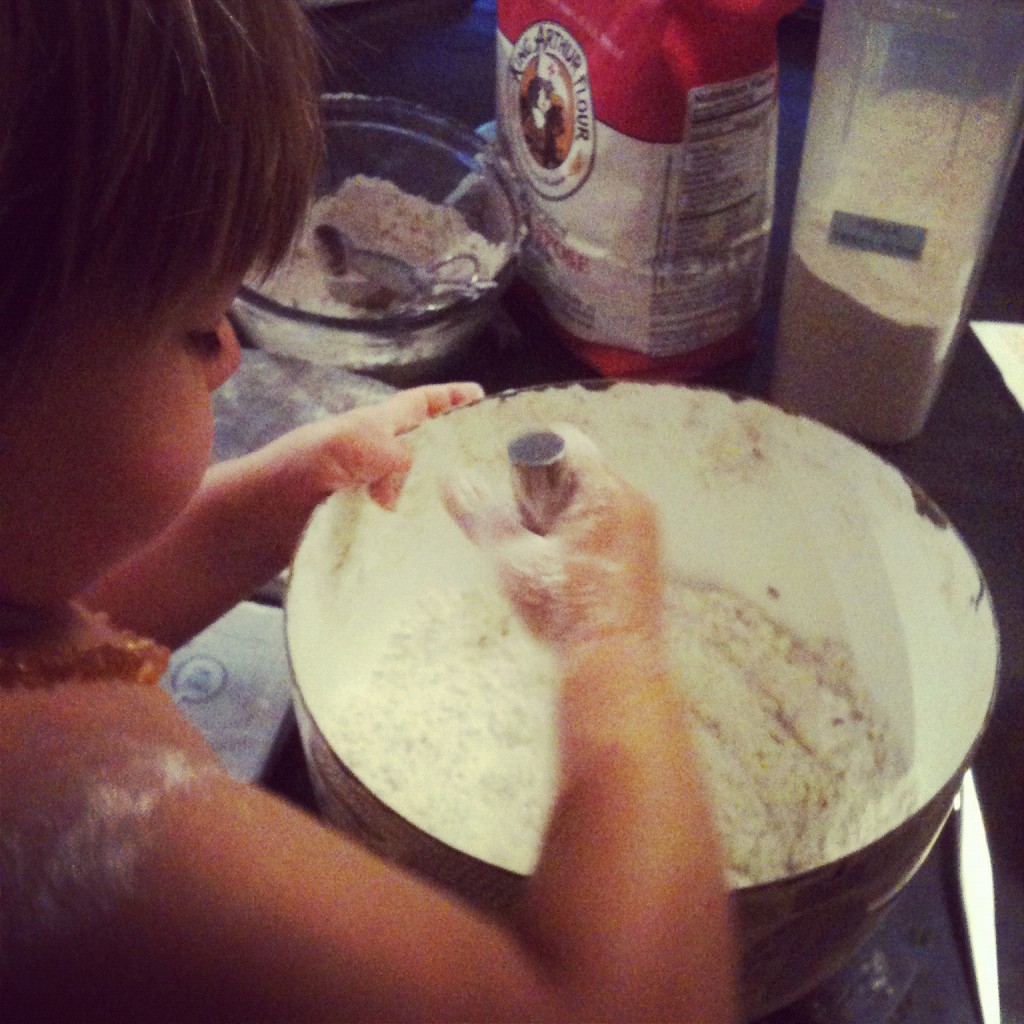
I’ll add that our son loves to help me make these. “Mama, I want to grate!” he says, and so he does, with some help. “Dad, I can break the egg,” he offers, and so he does, and pretty well at that! “Let me squoosh it up, Mama!” he demands, and so he does.

And so we make fritters. Sometimes he eats them. Sometimes he just licks the ketchup off his plate. “Like a dog!” he says.

You should make them too.

Baked Squash (or Zucchini) Fritters with Garlicky Yogurt Sauce
adapted just a bit from The Yellow House

Kid-friendly! Quick! And easy too to make gluten-free – the flour in this recipe just serves as a binder, so replace it with your favorite gluten-free flour and you should be good to go. One friend replaces the flour with masa harina – that sounds really good to us! Also, while parmesan is particularly tasty in these, feel free to use another kind of cheese. We used mozzarella the first time we made these because that’s what was in the fridge, and they were still very good.

These are great with ketchup (our son’s favorite), a fried egg (my favorite), tzatziki, or the quick garlicky yogurt sauce below.

2 cups grated summer squash or zucchini, pressed between layers of a clean dishtowel or paper towels to absorb some of the water
1 small onion, minced
1/4 cup whole wheat pastry flour (or other flour – see note above)
1/3 cup cornmeal
1/4 cup Parmesan cheese, grated
1 egg, lightly beaten
salt and pepper

Preheat the oven to 400°F. Line a baking sheet with parchment paper or a silicone baking mat.

In a large bowl, toss the squash and onion with the flour, cornmeal, and cheese. Add the beaten egg and some salt and pepper, and mix until everything comes together. Use your hands if you like; it’s fun! It should have the consistency of meatloaf.

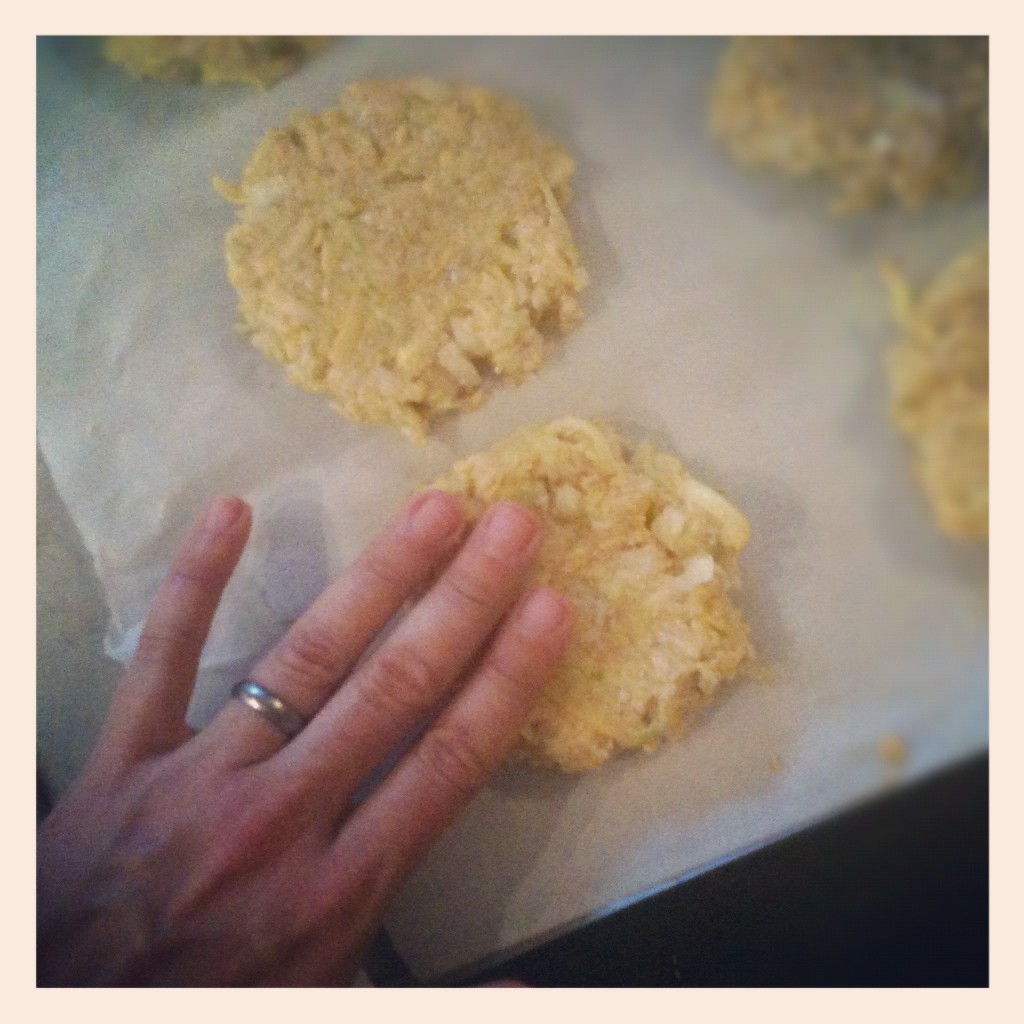
Using your hands, gently form the mixture into small balls (about 3 tablespoons of mixture for each fritter). Place them on the baking sheet and use your hand to flatten them into small patties about a half-inch thick.

Bake for 15 minutes, until golden brown on the bottom. (If making the yogurt sauce below, make it now – this will give the flavors time to meld a bit.) Then broil for 2-3 minutes longer. The fritters should be a lovely golden color. Good warm or at room temperature. Serve with ketchup, fried eggs, tzatziki, or the garlicky yogurt sauce below.

Makes 6-8 fritters.

Garlicky Yogurt Sauce

3/4 cup yogurt
1/4 teaspoon salt
1 clove garlic, minced

Stir all ingredients together in a small bowl. Taste, and add more salt if you think it needs it. Allow to sit for at least 20 minutes if possible to allow the flavors to meld.

On research, Thai curry, and baby led weaning

We’re so happy to introduce our newest contributor, Danielle Hunter. Danielle and her family run Spring Mill Farm in Central Virginia, where they keep pastured milk goats, laying hens, pigs, meat rabbits, and beef cattle. It’s a deep shame indeed you can’t taste their amazing goat cheese truffles via the internet … but you can benefit from Danielle’s adventures in baby led weaning with 10-month old Olivia. This is the first in what Danielle hopes will be a series of posts about starting solid foods with her daughter. Check back soon for more!  Learn more about Danielle and Spring Mill Farm here (for now scroll down to Danielle’s bio — hoping to have a more direct link soon).

Being a first-time parent is hard in many ways. I am a researcher. In college I studied microbiology and spent a lot of time performing laboratory research and poring over research articles. My microbiology career didn’t expand much past a brief stint at Harvard post-graduation, as I then moved to an area where my skills weren’t needed. Instead, I took a job at a veterinary hospital as an assistant and took up researching everything else. When I became pregnant, I researched my birth options. Now, as a parent, I try to research information, trying to stay “ahead of the game.” My approach is simple: read a bunch of articles, blogs, and reviews; then, when a new stage presents itself I’ve done my homework. At that point, we experiment with what I’ve read and find what works for us.

And that’s how I found myself breastfeeding, co-sleeping, cloth diapering, and baby wearing. In the post-birth stage under the haze of sleepless nights with a newborn, I missed some research time. Thus, at Olivia’s two month checkup, the topic of vaccination arose and I wasn’t prepared. I hadn’t done my research as thoroughly as I had hoped. I didn’t want to be unprepared again. Knowing that I wanted to hold off solids for as long as I could, at least until the six month mark, I started researching solids before Olivia was four months old. I wanted to be prepared.

My research led me to a method called “baby led weaning,” which despite its name (it’s a British term) is more about how food is introduced to babies rather than the process of weaning from breastmilk or formula. Of course, the latter is the ultimate goal, but it happens gradually with BLW. Lately, BLW is gaining press and more acceptance into mainstream society, thanks to a recent article published in the British Medical Journal, who stated in conclusive statements, “Our results suggest that infants weaned through the baby-led approach learn to regulate their food intake in a manner which leads to a lower BMI and a preference for healthy foods like carbohydrates.”

So, how is our attempt at BLW going? I started offering a few solids at meal times when Olivia was a few days shy of six months. So, in the past four months we’ve learned a lot about Olivia’s eating habits. Interestingly, just like researchers in the University of Nottingham study, Olivia prefers carbohydrates. Of course, carbohydrates aren’t just limited to breads and pastas (which we try to use only whole grains), but includes vegetables, fruits, and beans.

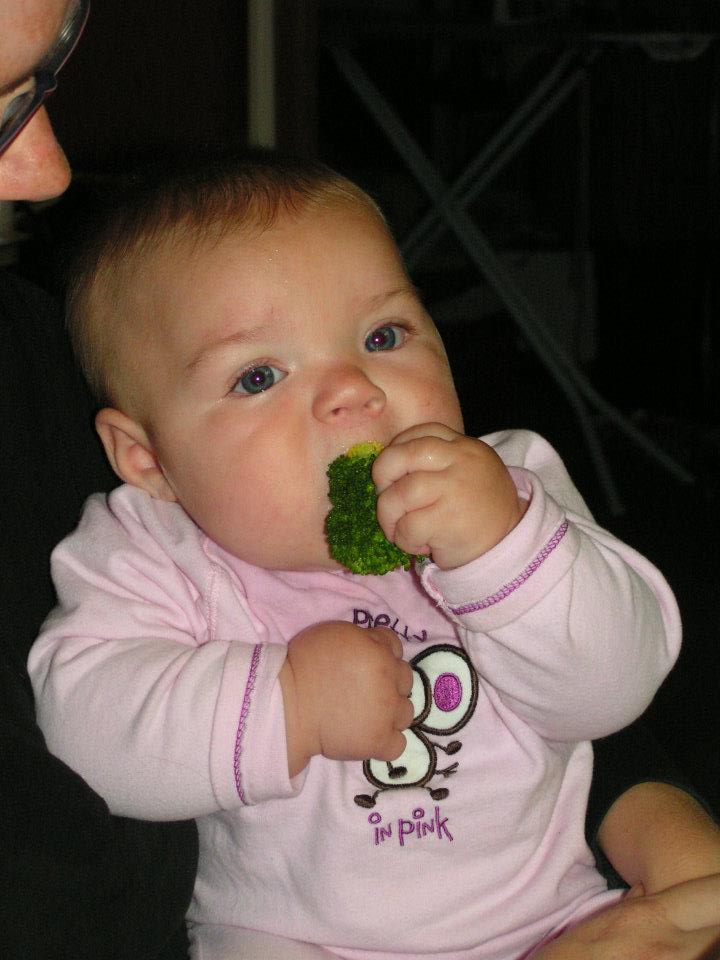
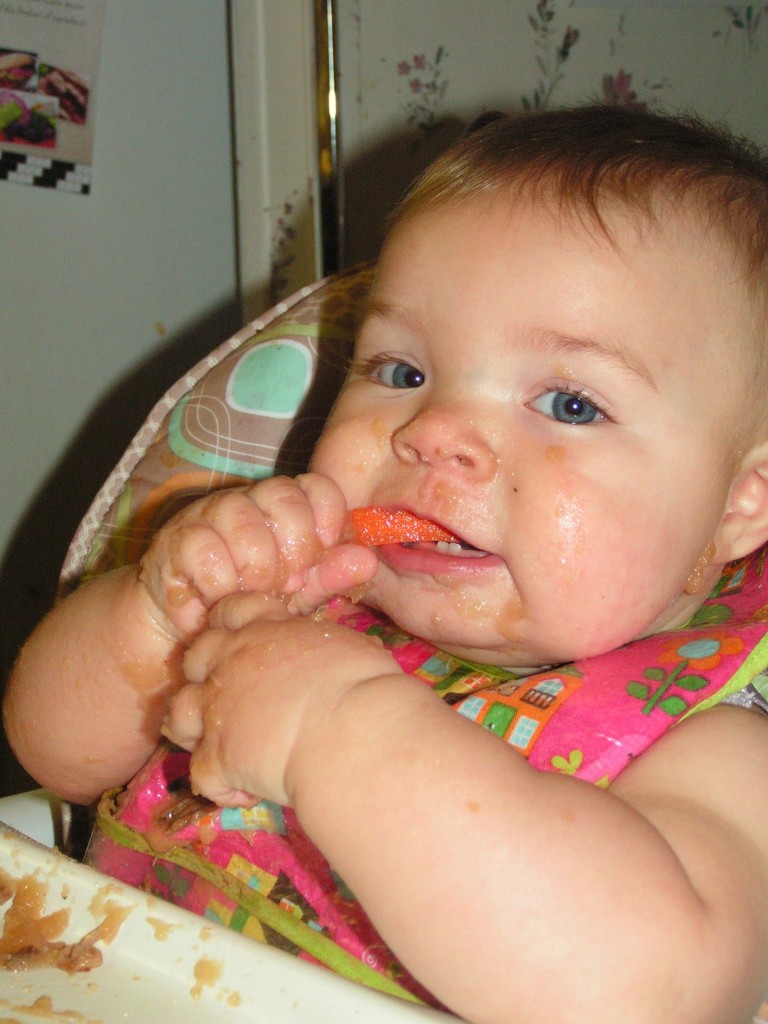
We started off slowly, as Olivia was relatively uninterested in solids. I began by first offering steamed carrot sticks and cucumber sticks. We branched out from those to bananas, sliced fruit, and then roasted veggies, and strips of cooked meat. Now, at almost 10 months old, I offer Olivia just about anything we’re eating. Her favorites are strawberries, bananas, sweet potatoes, beef tenderloin, Thai curry, and fajitas. I have withheld a few items: egg whites, shell fish, and honey. The proteins in egg whites are hard for their bodies to digest and can pose an allergy risk, so many sources recommend withholding them until at least 12 months of age. I will admit: Olivia has consumed them cooked into other dishes on occasion.

In the meantime, we continue to offer small bites of our meals. While it IS messy, it’s a lot of fun to watch her explore a variety of tastes and textures. It’s almost like mealtime has become educational – I try to discuss the foods that she’s exploring, describing the taste and texture. Taking this approach has been relatively easy on me, as a parent. Because I’m continuing to breastfeed on demand, I have relatively little anxiety over Olivia’s nutritional intake from solids. I know her nutritional requirements are being met, and that allows us to embrace the BLW motto: “Food before one is just for fun.”

Food for Thought Friday (welcome-to-2012 edition)

What’s been inspiring y’all recently?

Food for Thought Friday is a (more or less) weekly list of links – tasty morsels, if you will, for belly and brain.

Food for Thought Friday

Hi friends! Thanks for sticking with us here as we find our way. We’ve got some lovely posts coming up on holiday traditions and on eating adventures with both babies and toddlers. For now, enjoy this latest edition of Food for Thought Friday!

(I feel this every time I post a FFTF — but gosh, I think there are some really good ones in this week’s list.)

Food for Thought Friday is a (more or less) weekly list of links – tasty morsels, if you will, for belly and brain.

Buttery Spudlets!

Doesn’t that sound like something quaint to say when you’ve knocked over a bag of flour or grazed your knuckle because you were daydreaming about pie instead of paying attention to the cheese grater?

But for real: this is just some easy delicious food, and you should make some.

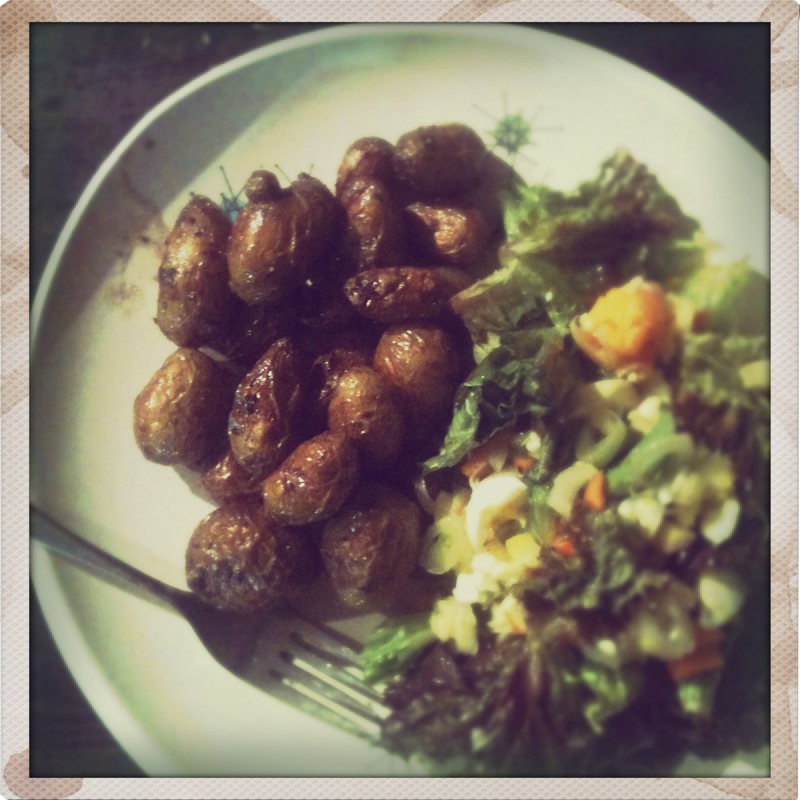
I suppose they look rather unassuming up there, piled on the plate next to a green salad. The list of ingredients is equally humble: potatoes, butter, salt, pepper, herbs-if-you-have-them-but-don’t-let-not-having-them-stop-you-from-making-these-for-dinner-tonight.

Don’t be fooled: underneath their plain Jane exterior, these potatoes are very exciting indeed. We’ve been making them for years, and we think the trick is in the dual cooking method: you start them in some sizzling butter on the stovetop and then slide them into the oven for a spell, where the skins get gorgeously browned and the insides go all light and fluffy and perfect. It’s really something.

Buttery Spudlets
adapted only slightly from The Passionate Vegetarian by Crescent Dragonwagon

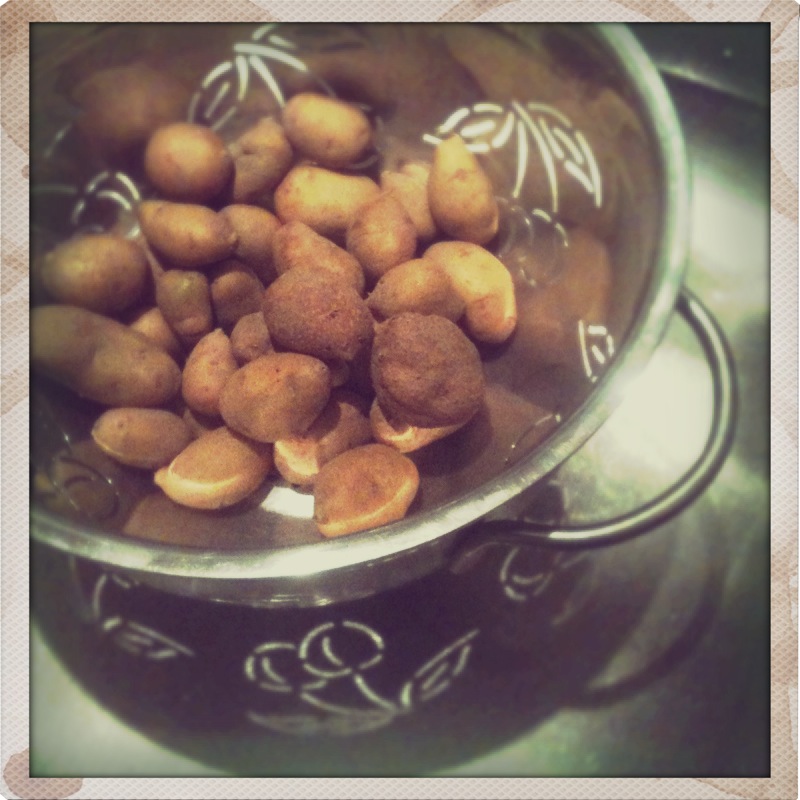
A few quick notes … the original recipe calls for tiny new potatoes, and while the pictures in this post might look like new potatoes, in truth they are it’s-the-very-end-of-the-farm-season-and-this-is-what-we-could-scrape-up-from-the-bottom-of-the-potato-bin potatoes. But you can use plain old baking potatoes as well; just cut them into rough 1-inch chunks. This is what we usually do and I think we even prefer them that way! You can also substitute sweet potatoes for some of the regular potatoes – delicious. These potatoes seem to be the perfect side dish to just about everything. But they are also divine on their own with a fried egg on top and that is a perfectly respectable supper. We’re just sayin’.

2 tablespoons butter
1 1/2 lbs or so potatoes cut into 1-inch chunks (or small new potatoes)
1 teaspoon fresh herbs, chopped fine, if you have them (rosemary is really really good, and thyme is nice too)
salt and black pepper to taste

Preheat the oven to 400°F.

Melt the butter in an oven-safe skillet (you’ll need a lid too in a sec) over medium heat. Add the potatoes and cook for about 5 minutes, shaking the skillet once or twice.

Cover the skillet and slide it into the oven. Bake for 20 minutes.

Carefully remove the lid. Add the salt and pepper and herbs if you’re using them. Shake the skillet to mix everything up. Cook uncovered for 15 more minutes, giving the skillet a good shake every 5 minutes.

Eat up!

Food for Thought Friday (day-after-Thanksgiving edition)

(Thanksgiving Day, 9pm)

Whew! Just under the wire. Food for Thought Friday is a (more or less) weekly list of links – tasty morsels, if you will, for belly and brain.


Food for Thought Friday

Food for Thought Friday is a weekly list of links – tasty morsels, if you will, for belly and brain.


On not fretting

Saturday was my son’s second birthday, and it was a really good one.  I didn’t, in the end, get everything done I’d been planning: my dad and I had what turned out to be overly ambitious plans to build him an easel, for example, and I never did get around to making a birthday banner we can use for all our birthdays every year.

Still, when I think back on the celebrations, things really did go exactly as I’d hoped.  And I think it has a lot to do with the intention I set very deliberately when we started planning: Keep things simple. Remember that gathering together in celebration of this little guy – the eating and the laughing and the gratitude – is the point. Don’t get lost in the details. Don’t fret. Don’t fret.

And you know what? I didn’t! So what if the icing wouldn’t set, if the cornbread sank low in the middle, if the wood for the bonfire was damp, if the sink was full of dishes! We had ourselves a very merry day indeed. We cooked together and instead of stressing over whether dinner would be ready in time or what to do about that icing, we sipped wine and told jokes and chopped sweet potatoes and tasted the chili to see if it needed more salt. And then we filled our bellies with really really good homemade food and we sang and laughed for the birthday boy and as we sat around that fire at the end of the night, I felt an enormous peace.

Which brings me to my point: I think the kitchen is a great place to choose not to fret. It’s an easy place to fret, I know. So many people to accommodate, so many recipes to try, so many techniques to understand, and what must be five dirty dishes for every clean one you manage to wrangle back onto the shelf.

For me, personally, the kitchen is probably the place where I have the greatest ambitions, and so it’s also the place where I experience some of my deepest disappointments. There’s so much I want to do well in the kitchen: I want to make a realistic and delicious menu plan every week, I want to freeze and can and ferment, I want to involve my son as much as possible, and I want it to be tidy in there at least sometimes. And I do not do all of this well. Sometimes I feel really defeated.

I do think it’s really important to ask ourselves what kind of home we want, to have some kind of framework on which to hang the minutiae of our days, to have a big picture that guides us as we decide what can get done and what will have to wait. But I’m coming to think it’s equally important to learn how to let go. To choose not to fret.

Here are a few tiny little ways we’ve learned not to fret in our kitchen:

  • I use salted butter in my baking and nothing bad happens.  Most baking recipes call for unsalted butter. Unsalted butter just doesn’t taste very good on toast or pancakes or sweet potatoes, so we never buy very much of it. I do try to keep a pound or so in the freezer, but I find I want to bake way more often than I remember to thaw that butter. So, I use regular salted butter. If I remember, maybe I use a bit less salt than the recipe calls for to compensate, but often I don’t even do that. I have had no catastrophes.
  • We don’t peel our vegetables. I learned about not peeling from my husband, and it’s been very liberating! We do peel winter squash and onions and garlic, but that’s it – we don’t peel potatoes, carrots, zucchini, cucumbers, sweet potatoes, or beets. Everything seems to taste quite delicious, and I’m betting it’s healthier to boot. We do grow most of our own vegetables on our farm, so we know there’s no pesticide residue or wax on them. If you buy most of your produce at the grocery store, be sure to wash it very well if you’re going to join our little No Peel Revolution.
  • I find most cultured dairy products can be used interchangeably. So I use what I have on hand — yogurt, buttermilk, sour cream — regardless of which one the recipe calls for.  If I don’t have any of those, I’ll add a tablespoon or two of vinegar or lemon juice to milk and let it sit for 5 or 10 minutes. Works great.

These really are small things. But sometimes a small thing is all I need – to find my footing, to remember to be gentle with myself, and to get on with the merry work of feeding my family.

How does it work in your kitchen? What tips can you share for keeping it simple and not getting lost in the details? Please share!

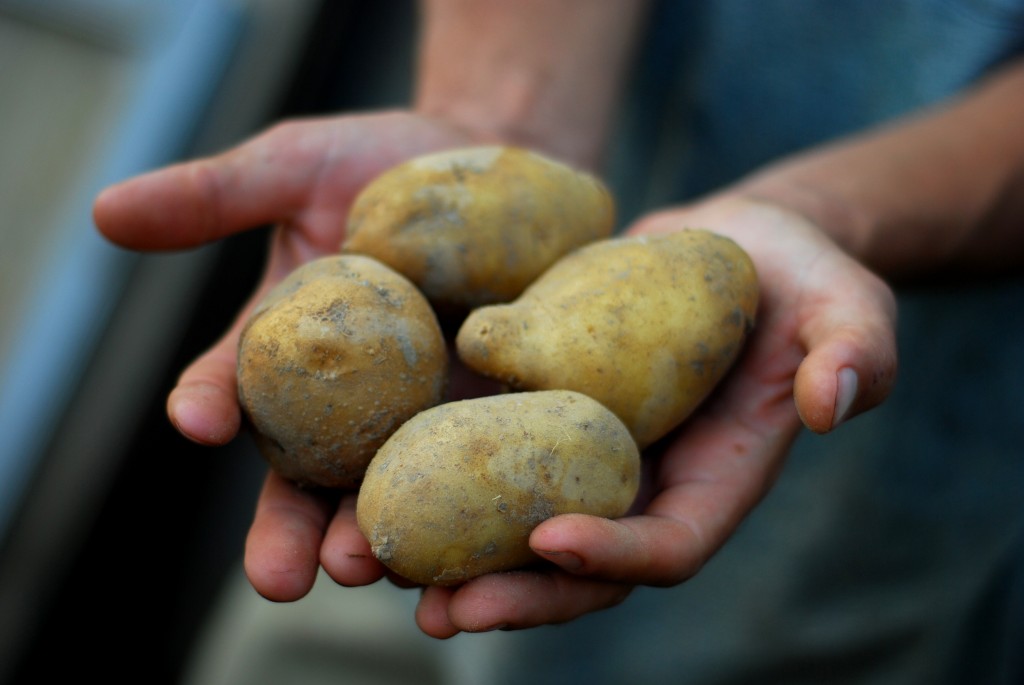
(some potatoes we didn’t peel)


Food for Thought Friday

Yeah, yeah. Technically it’s Saturday already. But I’m still up and I’m excited to launch what I hope will become a regular feature around here. Food for Thought Friday will be a weekly list of links – tasty morsels, if you will, for belly and brain.


Canning in My Blood

Today we’re so pleased to introduce a new contributor, Julia Timmons. Julia is a longtime Southside Virginia resident and newly retired after 30 years of teaching. One of the things she enjoys doing with her newfound free time is canning – a skill she learned as a child, working alongside her mother to put up food from her father’s big vegetable garden. Read more about this, and about the long line of canners in Julia’s family, in today’s post.

This is also the first in what we hope will be a series of posts about our childhood kitchens. Thanks for getting us started, Julia!

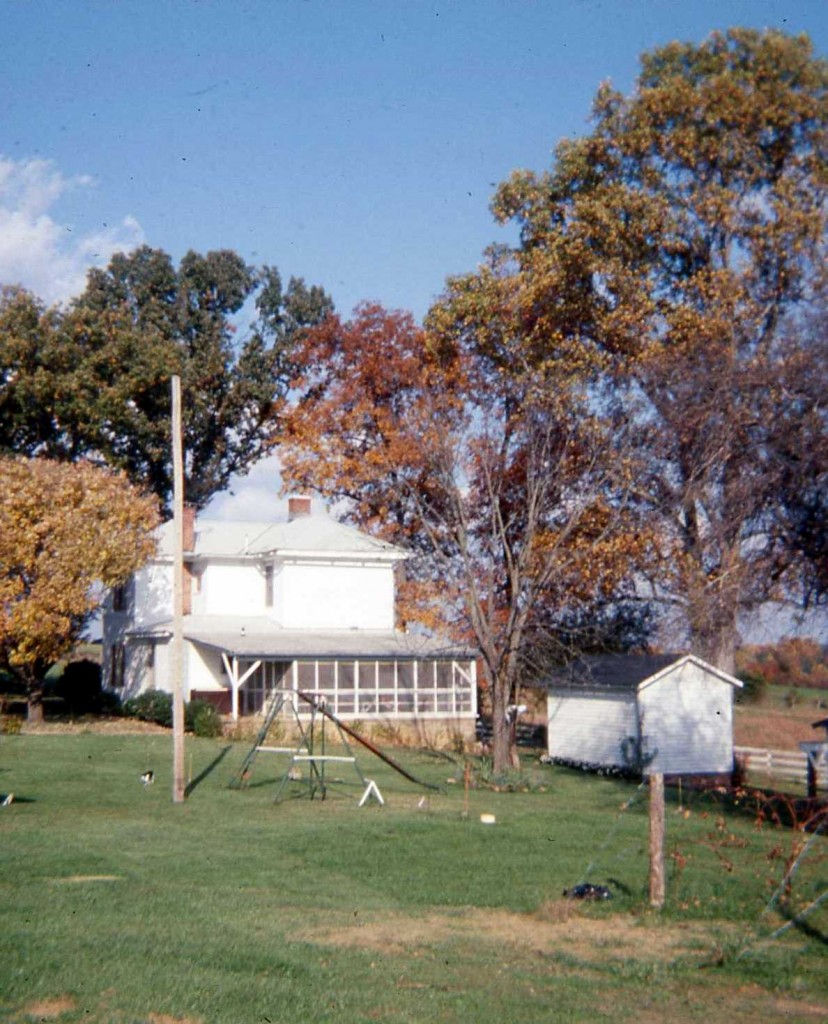
When I was 10 years old my parents purchased a 55-acre farm in Bedford County, just above the Otter River and bisected by Lick Run Creek.  My brother came up with the idea of naming the farm Otter Lick Farm and proceeded to draw and paint a sign for the mailbox depicting an otter with his tongue sticking out!  Our first year of owning the farm we were not able to move – we had had plans to move my grandfather with us and his health suddenly took a turn for the worse, postponing our move for a year.  In the meantime through my uncle we had a Vietnamese family rent the farmhouse.  The house was built somewhere around 1940 and needed considerable work.  There were two occasions when the tenants called my dad in a panic over problems.  The first, their young son fell down the steps in and doing so put his foot through the 1/8-inch thick old sheetrock.  No worries there!  The second call was that there was snow in the living room.  Dad went out and found that the wind was blowing so hard and gaining just the right momentum and path that it was blowing through under the house foundation, up into the newel post and into the living room.  Needless to say, we had to do much renovation to put in insulation and “new age” sheetrock, improve the kitchen, convert the small enclosed porch into laundry, sewing and bathroom, and most fun of all, cover and screen the huge concrete slab attached to the back of the house.  It was here that I remember fondly so many family gatherings!  At our farm, the wind rarely stopped blowing.  We did not have air conditioning and that breeze through the huge oak trees in the front yard on a sweltering night or through the screened porch on a humid and hot afternoon was always welcome.

Soon after we moved, my father proceeded to plant a large garden.  My recollection is that it was about half an acre.  Along one edge we planted a grove of dwarf fruit trees – Red Delicious apples, Golden Delicious apples, peaches, and damson plums.  Between the three long sections of the garden, Dad planted lespedeza bushes to attract birds which would hopefully help with pests.  I remember goldfinches and indigo buntings flying in and out of them all summer.  Our crops of choice included tomatoes, corn, green beans (bush), butter beans (pole), peas, peppers, potatoes, onions, cucumbers and squash. We also dabbled in some other things like strawberries, asparagus, snow peas, gourds and pumpkins.  We tried our best to organic garden – purchased both praying mantis and ladybugs (true ones, not the nasty pest ones we have now).  We contacted the extension agent for advice.  At times this worked, and at others we had to dust and spray to keep the crops alive and producing.  Water came from the spring house, whose flow Dad had to monitor carefully after burning out the holding tank pump.  There was plenty of water all the time, just not at a huge rate of flow.

Between the house and the garden were two full sized “antique” apple trees, the apples from which were only good for cooking.  It was under these trees where Dad placed a metal rocker in which he sat to take his gardening breaks and drink coffee.  What escaped me was how in the world he could DRINK a boiling hot beverage on a 95-degree day.  When asked, he said it cooled him off (can you tell I am NOT a coffee drinker)?  The farm came with an old yellow cub tractor which dad worked on and got into shape to till, plow and work the soil.  Being in Bedford County, the soil was red, clay and full of rocks.  Many times I remember rock picking, as each year in the spring when we tilled garden to plant, or turned the plants under in the fall, more rocks surfaced.  I swear to you we were growing a crop of them!!

As a result of such a large family garden, there was always plenty to be done from spring until late fall.  Dad did most of the planting, weeding and some of the picking, while Mom and I took over from there and did all the preserving (we picked as well and occasionally planted, and EVERYONE weeded from time to time).  So many afternoons we sat on that breezy screened porch with the dogs at our feet, shucking corn, snapping beans, shelling peas and limas.  My maternal grandmother lived with us during the early years there and was often part of these family community times.  When we had visitors and family stopping in, they helped out.

My mom was mostly a self-taught canner.  Her parents lived for a number of years on Oak Ridge Farm in its heyday and later moved to Cabell Street in Lynchburg.  My grandfather had a huge garden there which sustained the family through the depression years and beyond.  My grandmother canned and everyone pitched in when it was time to put up food. My mother was the youngest of six though and doesn’t remember much about canning with her mother. Mom had three pressure canners – a Mirro one that was meant for meal-size pressure cooking and two 15.5-quart 7-jar Presto pressure canners.  One belonged to my grandmother and the other Mom purchased.  I still have both.  They work just like they did 70 years ago (my grandmother’s was given to her by my uncle sometime around 1940).  All we had to do to get hers in working order was purchase a new gasket, pressure gauge and weight.  I helped can with Mom and learned the basics of packing and canning as well as pickling and freezing.  I truly remember enjoying the entire process, especially when it came time to eat.  Many nights in the summer we had meatless meals.  My favorite summer meal – green beans with tomato and new potatoes, corn on the cob, and steamed squash.  YUM!

When I moved out on my own and got married, I had a small garden in the city.  I canned some then, under Mom’s tutelage and using the trusted Ball Canning Guide.  Eventually because of the deer, groundhogs and other critters, along with the time commitment to growing children’s needs, I gave in and tilled that under for the last time.

This past summer I retired from teaching after 30 years and have begun to dabble in canning again.  Why you might ask?  There are a number of reasons.  One, I am determined to help my family eat better food, with less preservatives and pesticides.  Two, there is nothing which tastes better than home canned or frozen food right out of the garden.  Grocery store mass produced foods just can’t cut it.  And lastly, I like it.  I get the deepest sense of satisfaction when the pressure has gone down to zero, I remove the jars and put them out on a towel to cool, and one by one I hear the “thwack” of the lid popping down to seal.  Seeing the amassed collection of peaches, potatoes, tomatoes, tomato sauce, and green beans in my pantry shelves creates a certain fundamental sense of bliss…